How to Stop a Dog Pulling on the Leash
Why dogs pull, the four methods that actually work, and the one piece of gear that makes all of them easier — explained without the fluff.
Every dog pulls sometimes. The frustrating truth is that pulling on the leash is completely natural dog behavior — not stubbornness, not dominance, not a personality flaw. Dogs pull because the world in front of them is more interesting than anything behind them, because pulling has always worked (it got them to the thing), and because we accidentally taught them to do it the very first time we walked forward while the leash was tight. The good news: this is one of the most trainable habits there is, and most dogs improve noticeably within a few consistent sessions. This guide covers exactly why dogs pull, the training methods that stop it, the gear that makes training faster, and what to realistically expect.
The gear that backs up the training
One pick — the front-clip harness we’d pair with every method on this page. Verified in stock; tap through for the live price.
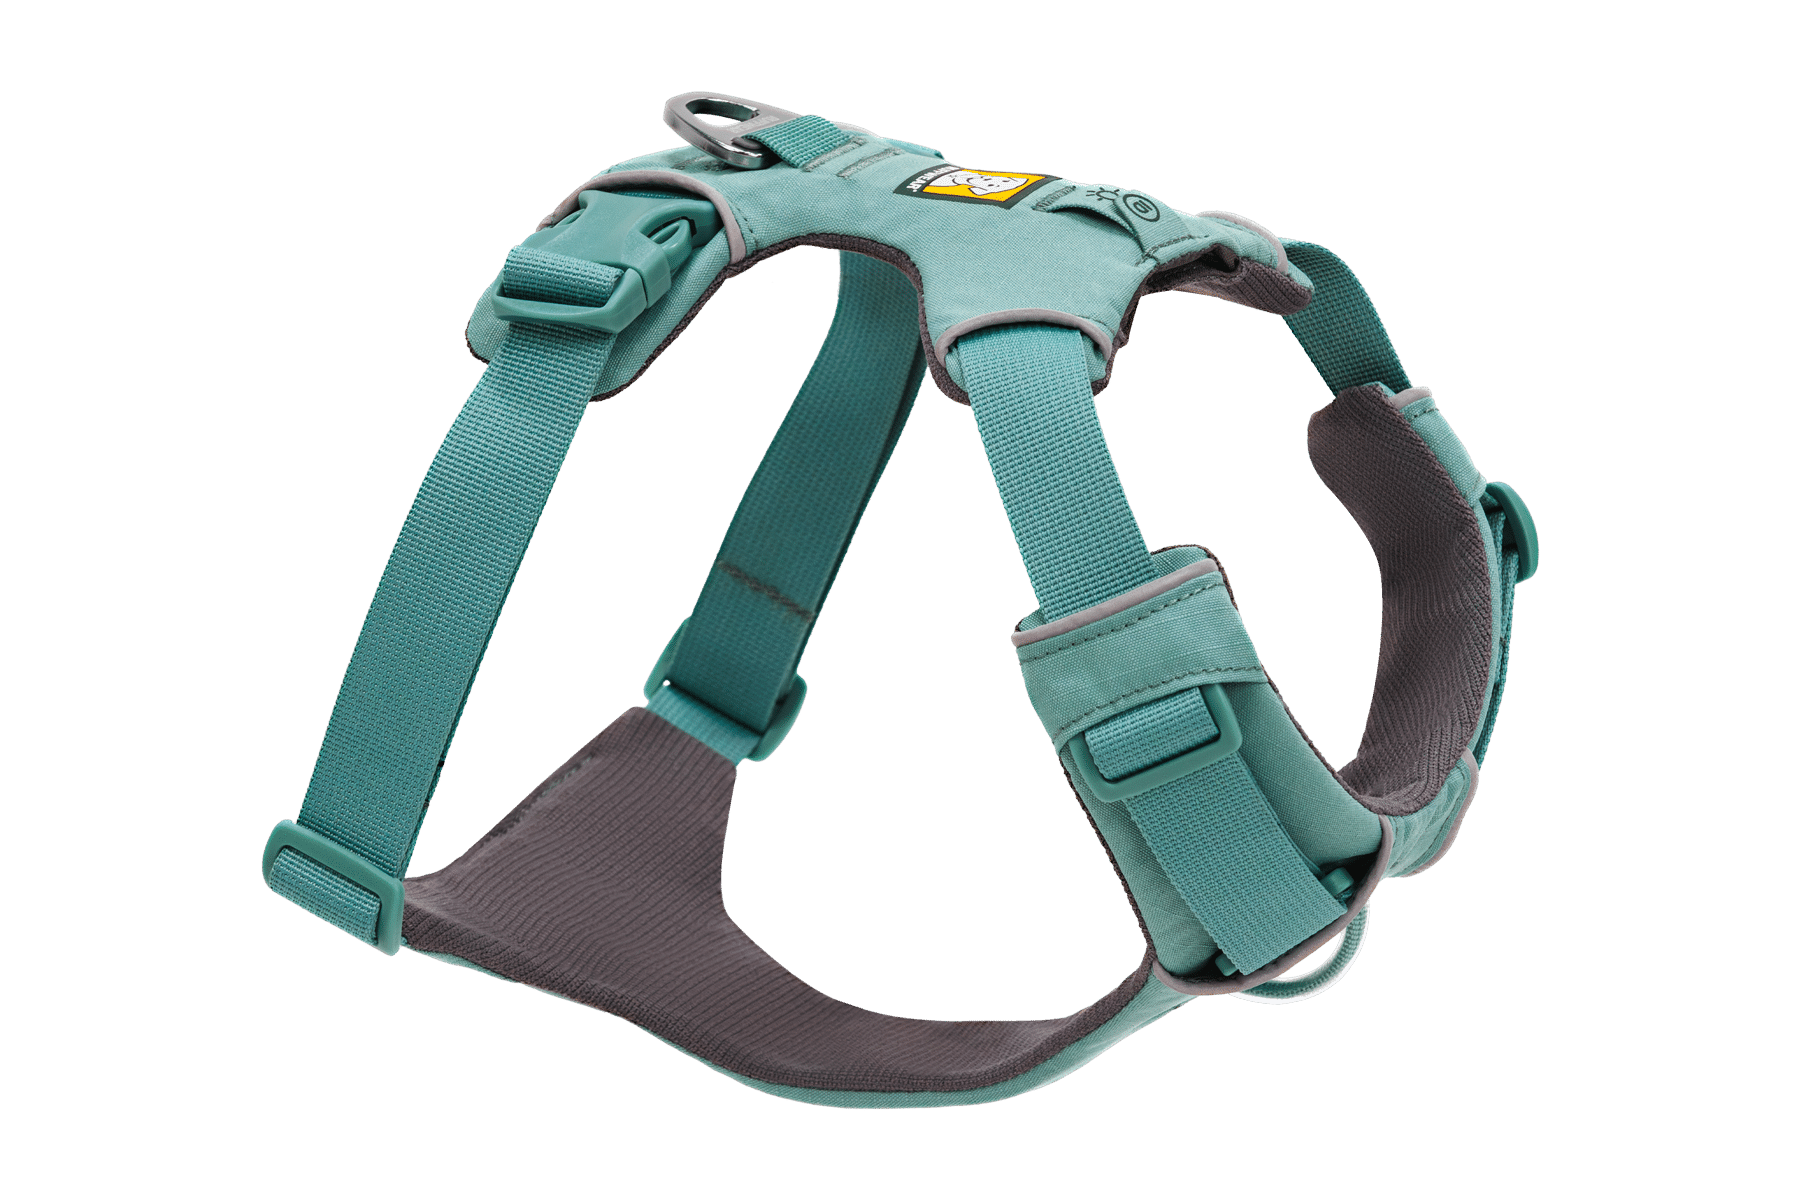
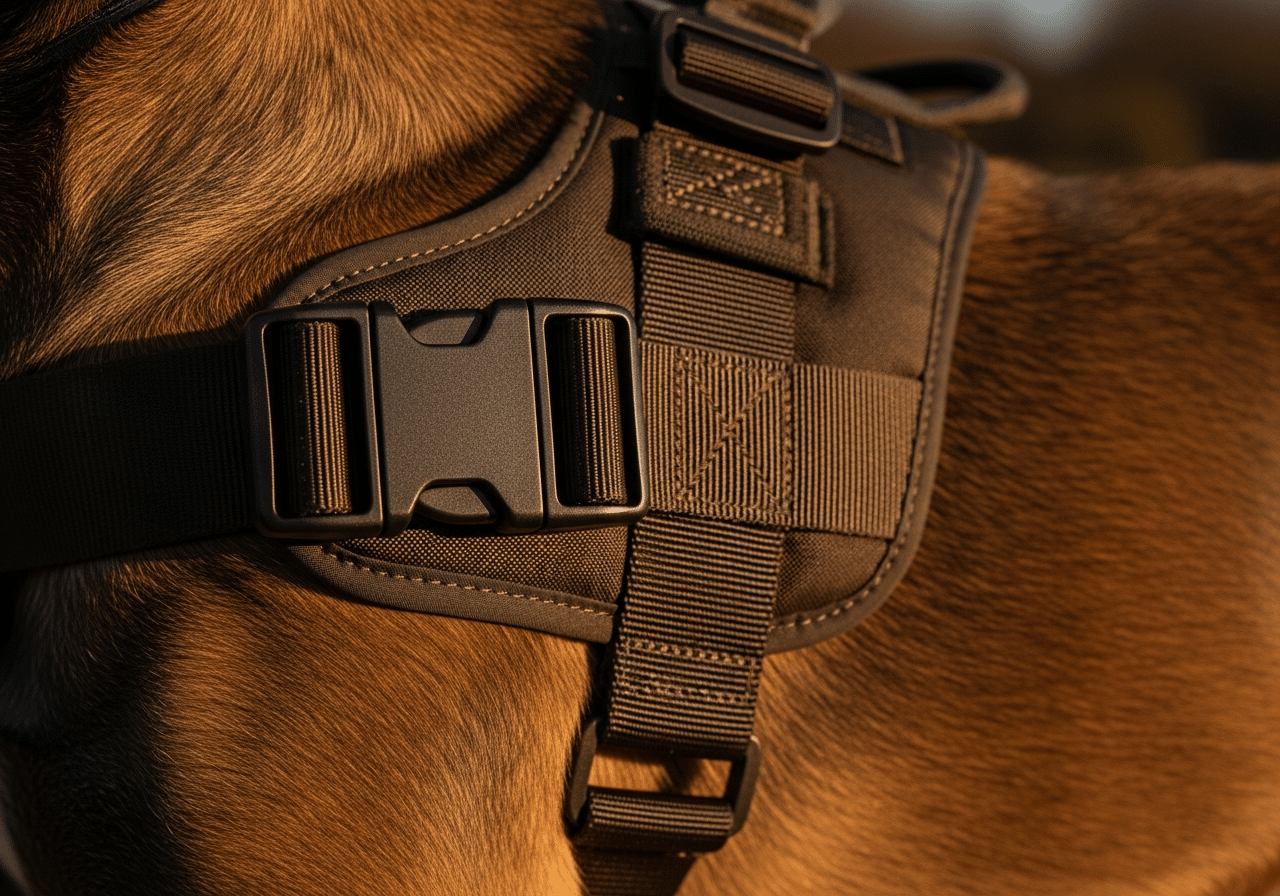
Ruffwear Front Range Harness
A front-clip attachment point redirects a pulling dog back toward you instead of letting forward motion reward the pull — which is exactly why trainers recommend pairing one with the stop-and-stand and direction-change methods. The Front Range adds a back clip for normal walks, padded chest and belly panels so it’s comfortable all day, and four adjustment points so it actually fits large dogs without riding up.
What we like
- Front clip removes the mechanical reward for pulling — dog steers itself back to you
- Dual-clip design means you can use it for training and relaxed walks with the same harness
- Four-point adjustment fits deep-chested and large breeds without slipping or chafing
- Reflective trim and ID pocket — practical enough for daily use, not just training sessions
The catches
- Front-clip alone won’t fix pulling without consistent training — it’s a tool, not a magic switch
- Sizing runs a little narrow across the chest for very barrel-chested breeds; measure first
- No handle — if you want a grab point, look at the Ruffwear Web Master instead
Why dogs pull on the leash (it’s not what you think)
Before you can fix pulling, it helps to understand why it happens. There are three main reasons, and they compound each other:
- Opposition reflex. When something pushes or pulls against a dog’s body, its instinct is to push or pull back. The moment a taut leash presses on your dog’s chest or throat, its body automatically leans into the pressure. It’s not defiance — it’s physics and instinct working together against you.
- The walk is inherently exciting. Outside is a world of moving smells, animals, other dogs, people, food scraps. Your dog has been waiting for this moment, possibly for hours. Everything its nose is telling it to do involves moving fast toward the interesting thing.
- Pulling has always worked. The very first time your dog pulled and you kept walking, you taught it that pulling gets rewarded with forward motion. Every walk since then has reinforced that lesson. Dogs are not complicated: if behavior A gets them what they want, they do more of behavior A.
This is why the fix isn’t about forcing the dog into a position it doesn’t understand. It’s about breaking the link between tight leash and moving forward, and building a new link between loose leash and good things happen. The methods below all work by doing exactly that.
The four training methods that actually work
These aren’t competing approaches — most experienced trainers use all of them together, switching between them as the walk and the dog require. Learn all four so you have options.
1. Stop-and-stand-still (the “be a tree” method)
The moment the leash goes tight: stop walking. Plant your feet. Say nothing. Do nothing. Wait. The instant the leash goes loose again — even for a second — mark it (a quiet “yes” or a clicker) and immediately move forward again. That’s it. The dog learns: tight leash = nothing happens; loose leash = we go again.
This method works because it removes the reward (forward motion) the instant the behavior (pulling) happens. It takes patience. Your walks will be very slow at first. The dog will try harder before it tries softer — that’s normal. Stay consistent and most dogs click within three to five sessions.
2. Change direction
When the leash goes tight, pivot and walk the opposite way — calmly, without yanking. Don’t warn the dog or call it first; just turn. When it catches up and the leash goes loose, mark and keep moving in the new direction. You can also use random direction changes even before the leash tightens, to keep the dog paying attention to you rather than the environment ahead.
Direction changes are more active than the stop-and-stand method and work particularly well for high-energy dogs that don’t care about standing still. They also build the habit of your dog checking in with you — “where are we going now?” — which is exactly what a well-leash-trained dog does.
3. Reward the loose leash and reward position at your side
Both of the above methods use a negative punishment (removing the reward of forward motion). This one adds positive reinforcement on top: actively reward your dog when it’s walking next to you with a loose leash. Use high-value treats, not kibble — small pieces of cheese, chicken, or hot dog. Mark and treat every time your dog is in position, especially if it checks in with you voluntarily.
At first, you may be treating every few seconds. That’s fine. You’re paying for the behavior you want. Over time, you stretch out the intervals and the loose-leash walk becomes the dog’s default because it pays better than pulling.
4. The “let’s go” turn
A gentler version of direction-change: right before you turn, say “let’s go” in a cheerful voice, then pivot. After a few repetitions the dog learns the cue means “new direction is happening, better keep up.” This starts building a verbal signal so eventually you can redirect a pulling dog with a word rather than a physical turn.
What doesn’t work: jerking the leash, “alpha rolls,” or punishment-based corrections. These don’t teach the dog what you want it to do, and some actively damage trust and increase anxiety on walks. Training collars that use pain or choke are also not recommended for this problem — they suppress behavior without teaching an alternative, and the opposition reflex means a pulling dog often just pulls harder against them.
A step-by-step training plan for the first two weeks
Consistency matters more than intensity. Short daily sessions will get you further than one long chaotic walk per week. Here’s a realistic two-week framework:
- Days 1–3: Introduce the game in a low-distraction space. Work in your yard, driveway, or a quiet street. Practice stop-and-stand or direction changes with the leash on. Keep sessions to 10 minutes. You’re teaching the dog the rule, not testing it yet.
- Days 4–7: Add rewards for position. Every time your dog walks next to you with a loose leash, mark and treat. Aim for five to ten “wins” per walk. Don’t try to walk a mile — a focused 15-minute session is worth more than an hour of unmanaged pulling.
- Days 8–10: Mild distractions. Move to a slightly busier area. Same methods, but now you’re testing them against real-world temptation. Expect some regression — that’s normal. The dog isn’t broken; it just needs more repetitions in harder environments.
- Days 11–14: Real walks. Take what you’ve practiced on actual routes. Carry treats. Keep marking and rewarding loose-leash moments. Be willing to stop or turn at any point the leash goes tight — every exception you allow is a lesson in the wrong direction.
- Ongoing: Stretch the rewards. Once your dog is reliably loose-leash walking, reward intermittently (not every step). Unpredictable rewards actually maintain behavior better than constant ones. The behavior becomes self-sustaining.
How a front-clip harness makes training 10× easier
The training methods above work on their own. But a front-clip (no-pull) harness makes them work faster, with less physical effort, especially for strong large dogs.
Here’s the mechanics: when your dog pulls against a back-clip harness or collar, the leash attaches behind or above its center of mass — which means pulling directly away from you is mechanically easy. It’s the perfect leverage setup for the dog. A front-clip harness attaches the leash at the chest. When the dog pulls, the leash redirects the dog’s front end sideways and back toward you. Pulling forward becomes mechanically awkward. The dog steers itself around without you having to yank.
Combined with the stop-and-stand or direction-change methods, this means:
- The dog physically can’t get the same reward from pulling that it got before
- Your arm and shoulder aren’t absorbing the full force of a 60-pound dog lunging at a squirrel
- Redirecting the dog during training takes much less effort, so you stay consistent longer
Important: a harness is a training aid, not a replacement for training. Some dogs figure out how to pull on a front-clip harness too. The harness removes the mechanical advantage; the training teaches the lesson. Use both together for the best results.
For a full rundown of how to choose between a harness and a collar, see our guide on the difference between a dog collar and a dog harness.
Front-clip vs back-clip vs head halter: which harness style for pulling?
| Style | Best for | Trade-offs |
|---|---|---|
| Front-clip harness | Most dogs; pairs best with the training methods here | Takes a little fitting; some dogs adjust to it within a walk or two |
| Back-clip harness | Dogs that already walk nicely; small dogs; comfortable extended wear | Does not address pulling — actually makes it easier for strong dogs |
| Dual-clip (front + back) | Versatile: train on the front, relax on the back | Slightly heavier; more clips to adjust |
| Head halter (Gentle Leader, Halti) | Very strong pullers; giant breeds where handler safety is a concern | Many dogs resist them initially; require careful introduction; not suitable for dogs with neck issues |
| Standard flat collar | Dogs with a solid loose-leash walk already | Pressure on the throat; can worsen opposition reflex; not recommended while teaching |
For most dogs learning not to pull, a front-clip or dual-clip harness is the right starting point. It removes the mechanical advantage without the management requirements of a head halter. See our full dog harness guide for breed-specific picks, or our tactical harness roundup if you need something more heavy-duty.
How to put the harness on correctly (this matters)
A front-clip harness only redirects pulling if it fits right. Too loose and it shifts sideways, rubbing the armpit or riding into the shoulder joint. Too tight and it restricts normal stride — which causes a different problem. When fitting:
- The chest panel should sit flat across the sternum, not up on the throat or down on the belly
- You should be able to fit two fingers under any strap — snug but not tight
- The front clip should rest at the center of the chest, not pull to one side
- Watch your dog walk: if it’s shortening its stride or raising its front feet unusually high, the harness is interfering — readjust
For a full visual walkthrough, see our guide on how to put on a dog harness — it covers the step-by-step for every harness style including front-clip models.
Mistakes that stall progress (and how to avoid them)
Leash pulling is usually fixable — but these patterns reliably slow things down:
- Inconsistency between walkers. If one person allows pulling and another doesn’t, the dog learns that pulling works some of the time — and that’s enough to keep doing it. Everyone in the household needs the same rules.
- Allowing “just this once.” The dog pulls toward another dog. You let it go because it’s easier. That single exception teaches the dog that pulling hard enough always eventually works. It will pull harder next time.
- Too much distraction too soon. Training on a quiet street is completely different from training near a dog park. Build the skill in easy environments before you test it in hard ones.
- Going for distance instead of quality. A 15-minute focused session with clear feedback will do more than a 45-minute walk where you never address pulling because you need to get somewhere. Early in training, treat the walk as a training exercise, not exercise in itself.
- Waiting for the dog to be calm before going out. Counter-intuitive: very excited dogs need the outlet of the walk, but training them in that state is also important. Use a high-value reward that competes with the excitement, not a lower one.
- Giving up before the click. Most dogs try harder before they try differently. When the stop-and-stand stops working the pulling immediately, owners often think it isn’t working. It is — the dog is just escalating before it gives up. Stay the course through three to five sessions before evaluating.
When to get professional help
Most dogs respond to the methods above within a few weeks of consistent work. But a few situations call for a certified professional dog trainer (look for CPDT-KA or Karen Pryor Academy certification):
- Leash reactivity. If your dog doesn’t just pull but lunges, barks, or snaps at other dogs, people, or animals, that’s a different problem (reactivity, not just pulling) and needs specific behavior modification work — the methods above will help but won’t address the root cause.
- Handler safety. If you physically cannot hold the dog, a trainer can help you build management systems while training is in progress — no one should be getting dragged.
- No progress after 4–6 weeks. If you’ve been consistent and nothing is changing, a professional set of eyes on your technique is worth it. Most common cause: something small in the timing or delivery of rewards/corrections that’s easy to fix once spotted.
A good trainer will not use punishment, pain, or fear — they’ll teach you clearer communication and better timing. If a trainer recommends prong collars or choke chains as a first tool for pulling, get a second opinion.
Keep reading: harnesses & walking gear
Stopping leash pulling: common questions
How do I stop my dog from pulling on the leash?
The most effective approach combines two things: the stop-and-stand method (stop dead when the leash goes tight; move again when it goes loose) and rewarding your dog whenever it walks next to you with a loose leash. Add direction changes to keep your dog paying attention to you, and pair it with a front-clip harness to remove the mechanical advantage pulling gives a strong dog. Expect real improvement in one to two weeks of consistent daily work — the single biggest factor is that every person who walks the dog uses the same rules.
Why does my dog pull on the leash?
Dogs pull for three interconnected reasons: opposition reflex (their body automatically leans into pressure against them), the walk is genuinely exciting and everything interesting is ahead of them, and pulling has always worked — the moment you walked forward with a tight leash, you taught them that pulling moves them toward what they want. It’s not stubbornness or dominance; it’s learned behavior that can be untaught with consistent training.
Does a no-pull harness stop a dog from pulling?
A front-clip no-pull harness makes pulling mechanically harder — when the dog pulls, the leash attachment at the chest redirects it sideways and back toward you instead of letting it pull straight ahead. This removes the leverage pulling gives a strong dog and makes training methods like stop-and-stand and direction changes more effective. But a harness alone won’t fix pulling; you still need to teach the dog that a loose leash is what gets it forward. Use the harness as a training aid alongside the methods, not instead of them.
How long does it take to train a dog not to pull on the leash?
Most dogs show noticeable improvement in one to two weeks of consistent daily work. Dogs that have been pulling for years, or very high-drive dogs, can take four to six weeks. There is no overnight fix. The speed of improvement depends almost entirely on consistency — especially that every person in the household uses the same rules on every walk. One person who allows pulling can undo a week of progress.
Should I use a harness or collar to stop pulling?
A front-clip harness is better than a flat collar for stopping pulling. Collars concentrate leash pressure on the throat, which can worsen the opposition reflex and cause discomfort or injury in strong pullers. A front-clip harness redirects the dog’s momentum sideways instead of fighting the pull head-on, making training methods like stop-and-stand more effective with less physical effort from you. Once the dog walks reliably loose-leash, switching back to a collar is fine — but while you’re training, the front-clip harness is the better tool.
What is the ‘be a tree’ method for leash pulling?
The ‘be a tree’ method — also called stop-and-stand-still — means the moment the leash goes tight, you stop walking completely and don’t move until the leash goes loose again. No talking, no yelling, no yanking — just stop. The instant the leash goes loose (even briefly), mark it with a ‘yes’ or a click and immediately walk forward again. Over time the dog learns that a tight leash makes all forward motion stop, and a loose leash makes it go. It’s one of the most effective and trainer-recommended methods for leash pulling.