Free DIY Solar Heated Dog House Plans & Materials List
Everything you need to buy for a warm, off-grid dog house — a complete materials list with quantities, a tools checklist, and exactly where each part fits in the build.
Most solar dog house “plans” give you a cut list but leave you guessing at the shopping cart. This one is the opposite: a complete, printable-style materials list for a free DIY build, with quantities, what each part actually does, and the money-saving swaps that won’t leave your dog cold. Print it, take it to the hardware store, and come home with everything in one trip.
The complete materials & shopping list
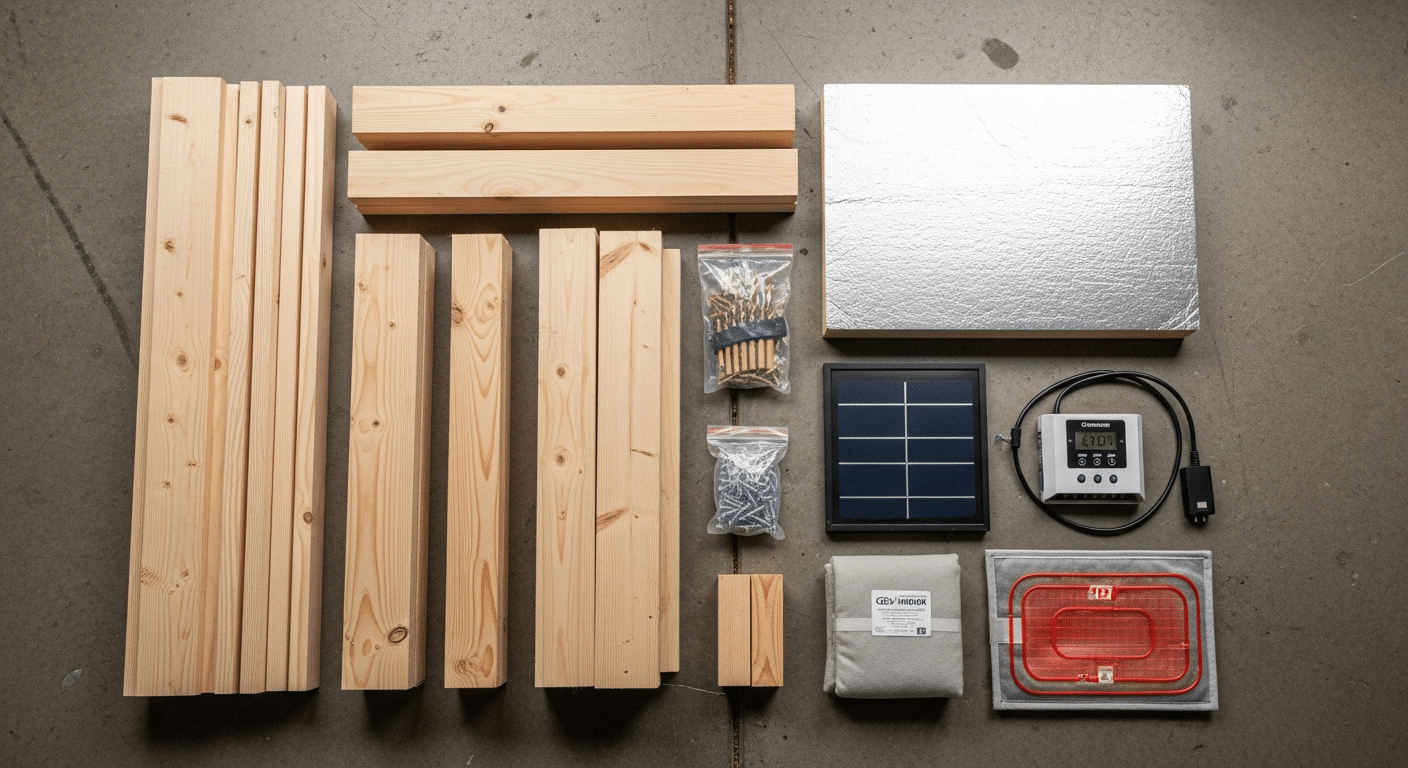
This is the full bill of materials for a single-dog, insulated, solar-heated house roughly 36" W × 30" D × 30" H — the right footprint for a medium dog. The build splits into two halves: the structure (the insulated wooden shell) and the solar heating system (panel, battery, controller and heat source). Quantities below assume that footprint; scale the lumber and insulation up for a large breed and the panel/battery up if you want heat through several cloudy days.
| Part | Qty | Where it fits |
|---|---|---|
| 2×2 framing lumber (8 ft) | 6 | Floor, wall and roof framing |
| 1/2" exterior plywood (4×8 sheet) | 2 | Floor, walls and roof skins |
| 2" rigid foam insulation board (4×8) | 1 | Sandwiched inside floor, walls and roof |
| Exterior wood screws (1-5/8", box) | 1 | Framing and skin assembly |
| Construction adhesive (tube) | 2 | Bonding foam to plywood; sealing seams |
| Exterior caulk / weatherproof sealant | 2 | Sealing every joint against drafts |
| Asphalt shingles or roll roofing | 1 small roll | Waterproofing the roof |
| Pet-safe exterior paint or stain | 1 qt | Sealing & protecting the shell |
| Heavy vinyl / rubber door flap | 1 | Doorway — blocks wind, keeps heat in |
| 50–100W 12V solar panel | 1 | Roof or south-facing post — power source |
| 12V deep-cycle battery (35–50Ah) | 1 | Stores power for night & cloudy days |
| PWM or MPPT charge controller (10–20A) | 1 | Between panel and battery — prevents overcharge |
| 12V heated pad or low-watt heat panel | 1 | Inside, on the floor — the actual heat |
| Inline fuse + holder (10A) and ring terminals | 1 set | Battery safety & wiring connections |
| 12-14 AWG outdoor wire (25 ft) | 1 | Runs panel→controller→battery→pad |
| Weatherproof project box | 1 | Houses battery & controller, out of the weather |
| Thermostat / thermal cube (optional) | 1 | Switches the pad on only when it’s cold |
Tools you'll need
None of these are exotic — most DIYers already own them. Borrow what you don’t.
- Cordless drill/driver + bits
- Circular saw or handsaw (for plywood & 2×2s)
- Utility knife (cutting foam board)
- Tape measure, pencil & speed square
- Caulk gun (for adhesive & sealant)
- Wire strippers & crimpers (for the 12V wiring)
- Multimeter (to confirm panel & battery voltage)
- Safety glasses & work gloves
What each part does (and how to size it)
If you only copy the table, you’ll build something that works. But understanding what each piece is for is what lets you scale the plan to your own dog and winter.
The insulated shell
The 2×2 frame creates a cavity; the rigid foam board fills it and is the single biggest factor in whether your solar heat actually stays inside. Skinning both sides with 1/2" exterior plywood makes a structural insulated panel for the floor, walls and roof. Seal every seam with adhesive and caulk — a drafty house wastes solar watts faster than thin walls do.
The solar power system
The panel collects energy, the charge controller regulates it so it doesn’t cook your battery, and the deep-cycle battery banks it for night and cloudy stretches. Match them roughly: a 100W panel + 50Ah battery comfortably runs a low-watt heated pad overnight in most climates. In a harsh winter or for a large dog, step both up. The fuse sits right at the battery terminal — never skip it.
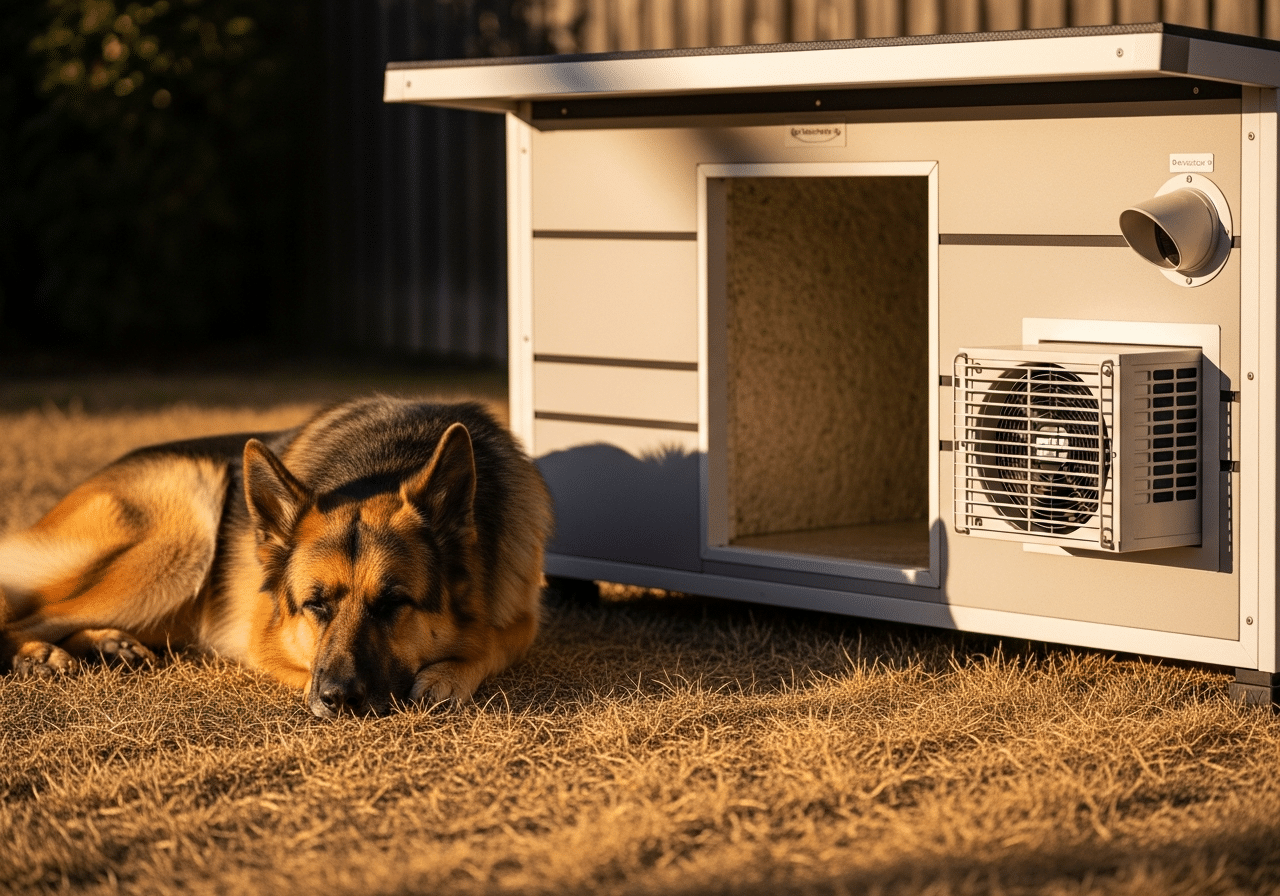
The heat source
A 12V heated pad or low-watt heat panel draws far less than a household space heater, which is exactly why it pairs with a modest solar system. Add an inexpensive thermostat or thermal cube so the pad only runs below a set temperature — it stretches the battery and keeps the house from getting too warm on milder days.
Substitutions to save money
You can trim the budget without making your dog cold. Smart swaps:
- Reclaimed pallet wood in place of new 2×2s for framing (inspect for the HT heat-treated stamp, never chemically-treated MB).
- Offcuts of foam board from a home-center remnant bin instead of a full sheet — you only need enough to fill the cavities.
- A smaller 50W panel + 35Ah battery if you’re in a mild climate and only need light overnight warmth.
- A PWM controller instead of MPPT — cheaper and fine for a single small panel (MPPT only pays off at higher wattage).
- Skip the thermostat at first; add it later once you see how much the pad runs.
What not to cheap out on: the insulation, the door flap, and the fuse. Those three are the difference between a warm, safe shelter and a cold box that drains its battery by midnight. For the official basics on how solar systems are sized and stored, the U.S. Department of Energy’s solar energy guide is a solid primer.
Want to see the same build laid out as wiring diagrams and exact dimensions, or check what the parts add up to before you start? The DIY blueprint with dimensions and wiring and the full cost breakdown pick up right where this list leaves off.


