 Dog Gear, Sized Right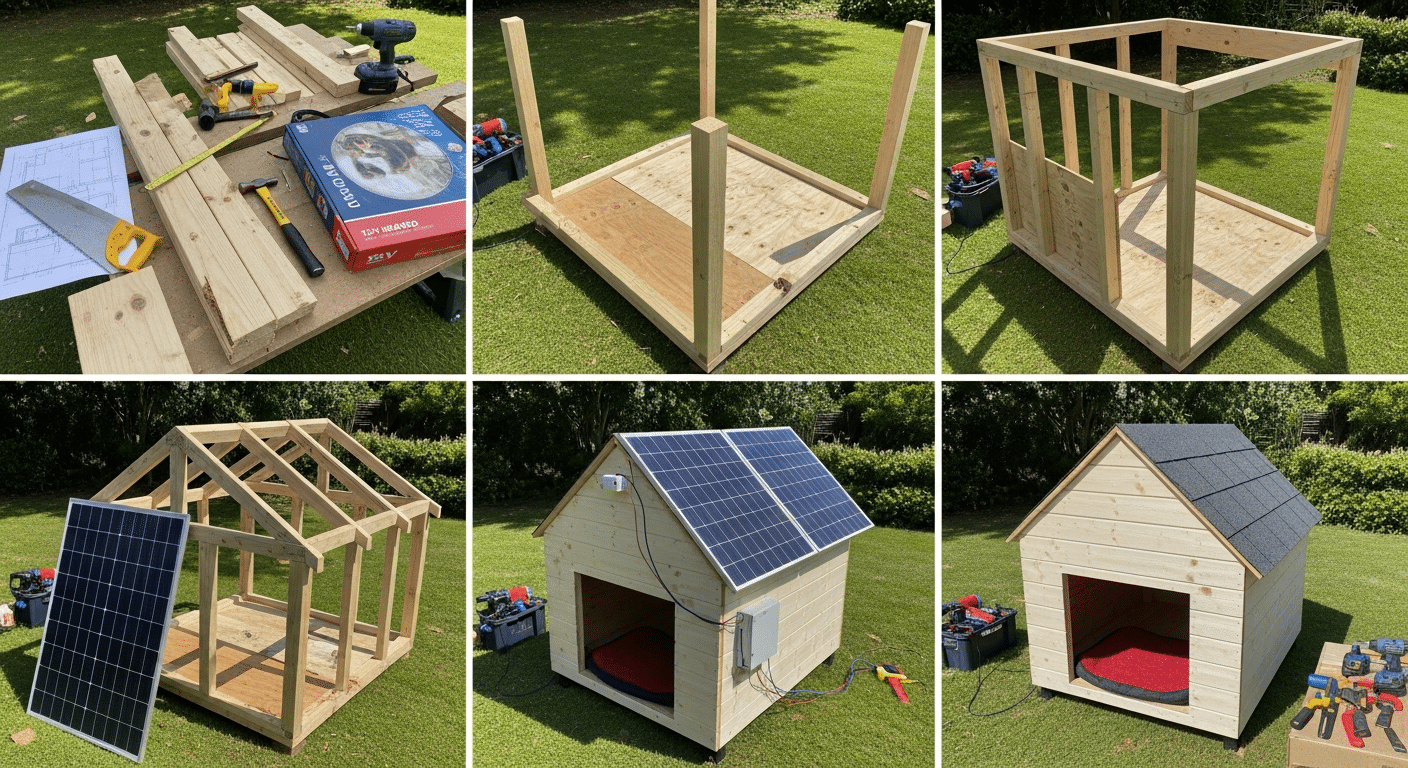
Build a Solar Heated Dog House: Step-by-Step DIY Plan
The complete, build-it-this-weekend walkthrough: frame, insulation, and a small solar panel that runs a 12V heated pad, wired safely, start to finish.
This is the end-to-end plan, the one that takes you from a stack of lumber to a warm, sun-powered dog house with the heater running. We’ll frame and insulate a solid shell, mount a small solar panel, wire it through a charge controller to a 12V battery, and connect a low-watt heated pad that keeps your dog cozy without ever touching mains power. Every step below is in build order, with the parts, the wiring, and the test you run before your dog ever sets a paw inside.
What you’re building (and why solar)
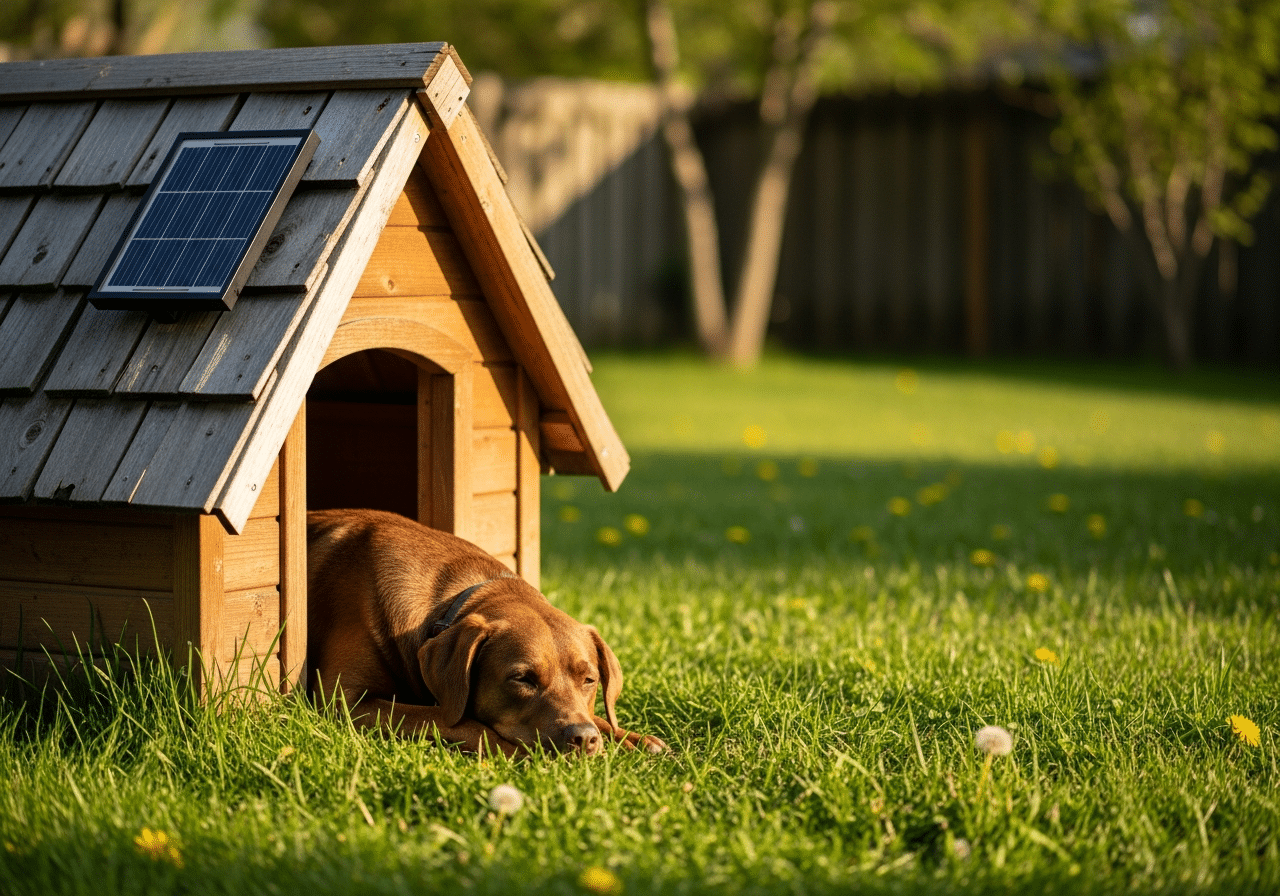
A solar heated dog house is just a well-insulated dog house with its own tiny off-grid power system. A roof-mounted panel charges a 12V battery during daylight; the battery runs a thermostatically-controlled heated pad through the night. No extension cords, no electrician, no power bill, and it keeps working in a blackout. The whole electrical side is low-voltage 12V, which is genuinely beginner-safe to wire.
The trade-off is that warmth depends on sun and battery size, so the build splits into two halves that matter equally: a tight, insulated shell that holds the heat in, and a correctly-sized solar system that puts the heat there in the first place. Get either one wrong and the dog is cold. We’ll do both properly. For the official primer on how solar panels and off-grid charging work, the U.S. Department of Energy’s solar energy guide is the plain-English reference.
Want the cut list and exact dimensions before you commit? Pair this with our DIY solar dog house blueprint and the printable 2025 plans & materials list. To sanity-check spend, see the full cost breakdown.
Tools & materials
Have everything on the bench before you start, a solar build stalls fast when you’re missing a connector or the right gauge wire. Here’s the core parts list for a small-to-medium house (scale the panel, battery and pad up for a large breed).
| Part | Spec for a small/medium house | Job it does |
|---|---|---|
| Plywood & framing lumber | 3/4″ exterior plywood + 2×2 furring | Shell, floor, roof |
| Rigid foam insulation | 1″ (R-5) for walls & floor, 2″ for roof | Holds the heat in |
| Solar panel | 50 to 100W 12V mono panel | Charges the battery by day |
| Charge controller | 10A PWM (or MPPT) | Protects the battery from over/under-charge |
| Battery | 12V 20 to 35Ah AGM or LiFePO4 | Stores power for the night |
| Heated pad | 12V, 15 to 30W with thermostat | The actual heat source |
| Wiring & fuses | 14 to 16 AWG, inline fuse, MC4 + ring terminals | Connects it all, safely |
| Sealant, screws, hinge | Pet-safe exterior sealant, deck screws | Weatherproofing & assembly |
Tools: drill/driver, circular or hand saw, utility knife (for foam), wire strippers, screwdriver, caulk gun, and a multimeter to confirm voltage before connecting the pad.
Step 1 to 7: the full build, in order
Work through these in sequence. Steps 1 to 4 build and insulate the shell; steps 5 to 7 are the solar system and the all-important test.
Step 1. Build the insulated floor
Start with the floor, because a cold floor undoes everything above it. Cut two plywood panels to your footprint. Sandwich 1″ rigid foam between them, like an insulated panel, and screw through into 2×2 spacers so there’s a sealed air-and-foam layer. Raise the whole house off the ground on 2 to 4″ feet so damp and frost never reach it.
- Cut a top and bottom plywood floor panel to size
- Glue/screw 1″ foam board between them
- Seal the edges with pet-safe caulk
- Add feet or skids to lift it off the ground
Step 2. Frame and raise the walls
Build four wall frames from 2×2, clad the outside with plywood, and leave a stud cavity you’ll fill with foam. Cut a doorway that’s offset to one side (not dead-center) so wind can’t blow straight onto the dog’s bed. Make the door just tall enough for your dog to step over a small lip, that lip blocks drafts at floor level.
- Frame four walls from 2×2 lumber
- Sheath the exterior in plywood
- Cut an offset doorway with a small bottom lip
- Screw the walls to the insulated floor, square and plumb
Step 3. Insulate every cavity
Press 1″ rigid foam into each wall cavity and friction-fit it tight; fill gaps with spray foam. Insulation is what turns a few watts of heat into a warm house instead of a heated outdoors. Then add an inner plywood liner over the foam so your dog can’t reach or chew it, exposed foam is the single most common chewing hazard in DIY builds.
Step 4. Build & seal the roof
Build a sloped, removable roof (slope sheds rain and gives the solar panel a sun-facing tilt). Insulate it with 2″ foam, line the underside, and shingle or seal the top. Make it removable or hinged so you can reach the battery and wiring for maintenance. Caulk every seam, a watertight house is a warm house.
- Frame a sloped roof angled toward the sun
- Insulate with 2″ foam, line the underside
- Weatherproof the top; hinge it for access
- Seal all seams with exterior caulk
Step 5. Mount the solar panel
Fix the panel to the sloped roof facing true south (in the Northern Hemisphere) at roughly your latitude angle for the best winter sun. Use a sealed cable gland or grommet where the wires pass through the roof so no water follows them in. Run the panel leads down to where the controller and battery will live, ideally a small ventilated box on the rear or inside a sealed compartment, never in the dog’s sleeping space.
- Bolt the panel to the south-facing roof slope
- Pass the leads through a sealed gland
- Route wires to the controller/battery box
Step 6. Wire the battery, controller & pad
Wiring order matters, always connect the battery to the charge controller first, then the panel, then the load. This stops the controller from being damaged by an unloaded panel. Add an inline fuse on the positive battery lead. Keep it 12V throughout and it stays beginner-safe.
- Connect battery → charge controller (battery terminals)
- Connect solar panel → controller (PV terminals)
- Connect the heated pad → controller load output (with thermostat)
- Add an inline fuse on the battery positive lead
Step 7. Test before the dog moves in
Don’t skip this. In daylight, confirm the controller shows the panel charging the battery. Then let the system run a full night with a thermometer inside (no dog) to confirm the pad holds a comfortable temperature till morning and the battery isn’t drained flat. If it dies overnight, you need a bigger battery, a lower-watt pad, or a larger panel, fix it now, not with your dog inside.
- Daytime: confirm the panel is charging (controller readout)
- Overnight: run a thermometer test with no dog inside
- Confirm warmth holds till morning and battery survives
- Add bedding, then introduce your dog
Sizing it for your climate and dog
The numbers above suit a mild-to-moderate winter and a small or medium dog. For a hard winter or a large breed, scale up: a 100W panel, a 35Ah+ battery, and a 30W pad give more overnight margin. The rule is simple, your battery (in watt-hours) should comfortably cover the pad’s nightly draw with cloudy-day reserve, and your panel should refill it on a short winter day. If you’d rather not do the math, the plans linked above include a ready-made sizing table for each climate tier.