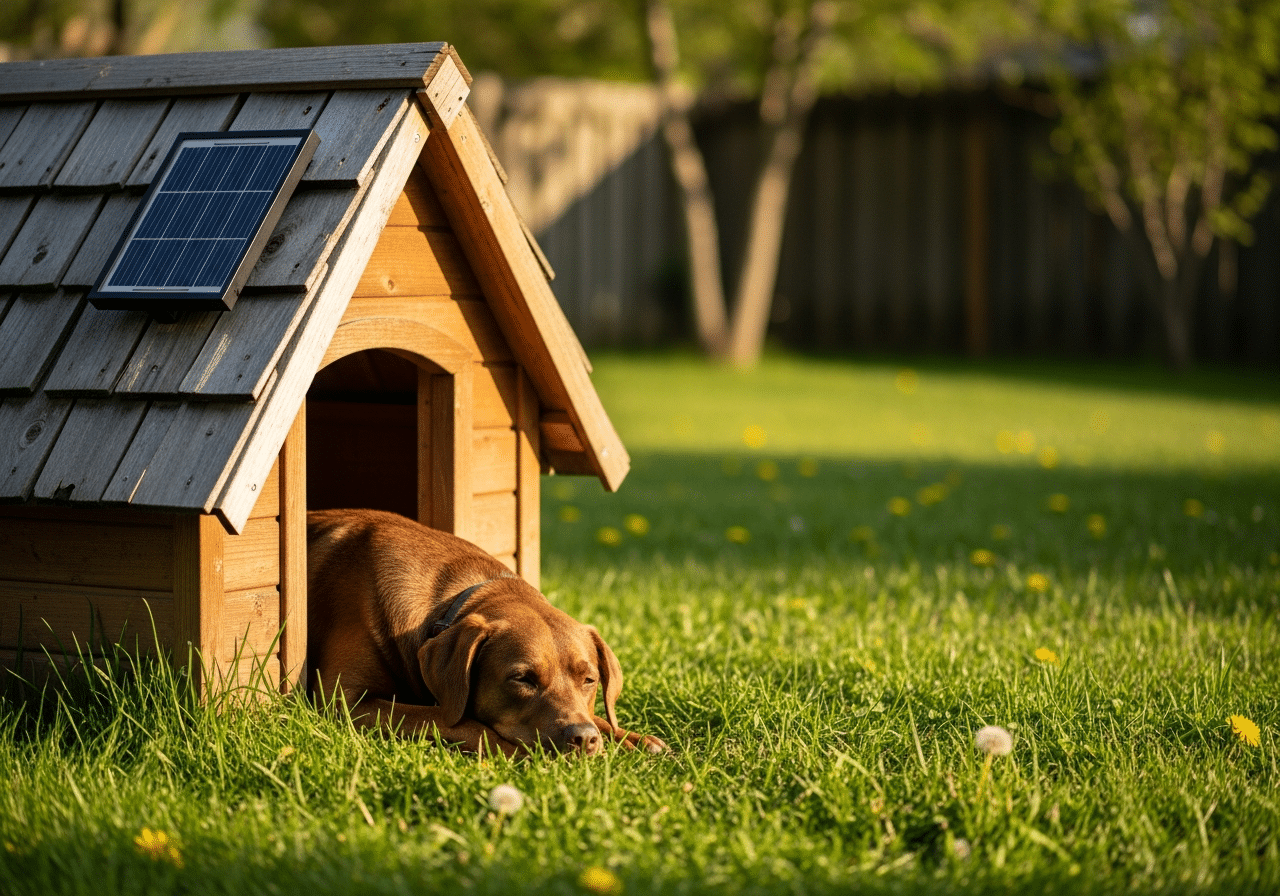
Best Solar Panel Kits for a Heated Dog House
The panel is the engine of an off-grid heated dog house. Here’s how to choose the right wattage, cell type and mount so it actually keeps the heat on through winter.
The Best Solar Panel Kits for a Dog House
Each pick is verified in stock. Prices are last-checked — tap through for the live price.
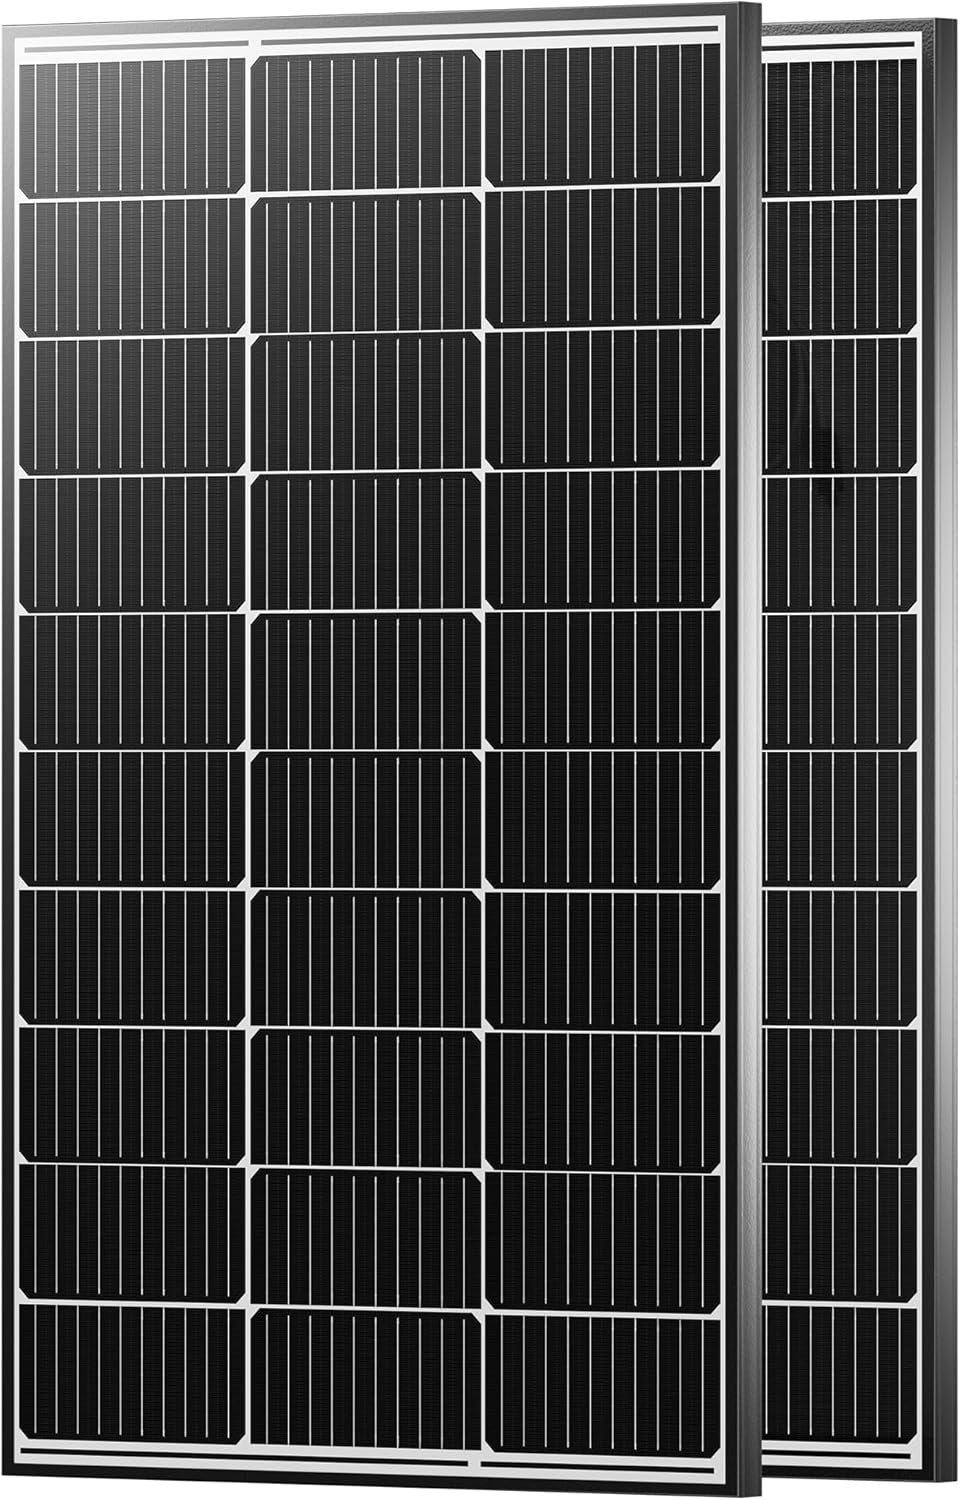
JJN 100W Solar Panel Kit
Real wattage to run a heated pad through a cold night with a battery — far more headroom than a trickle panel.
What we like
- Real cold-night power
- High-efficiency cells
The catches
- Needs a battery + controller
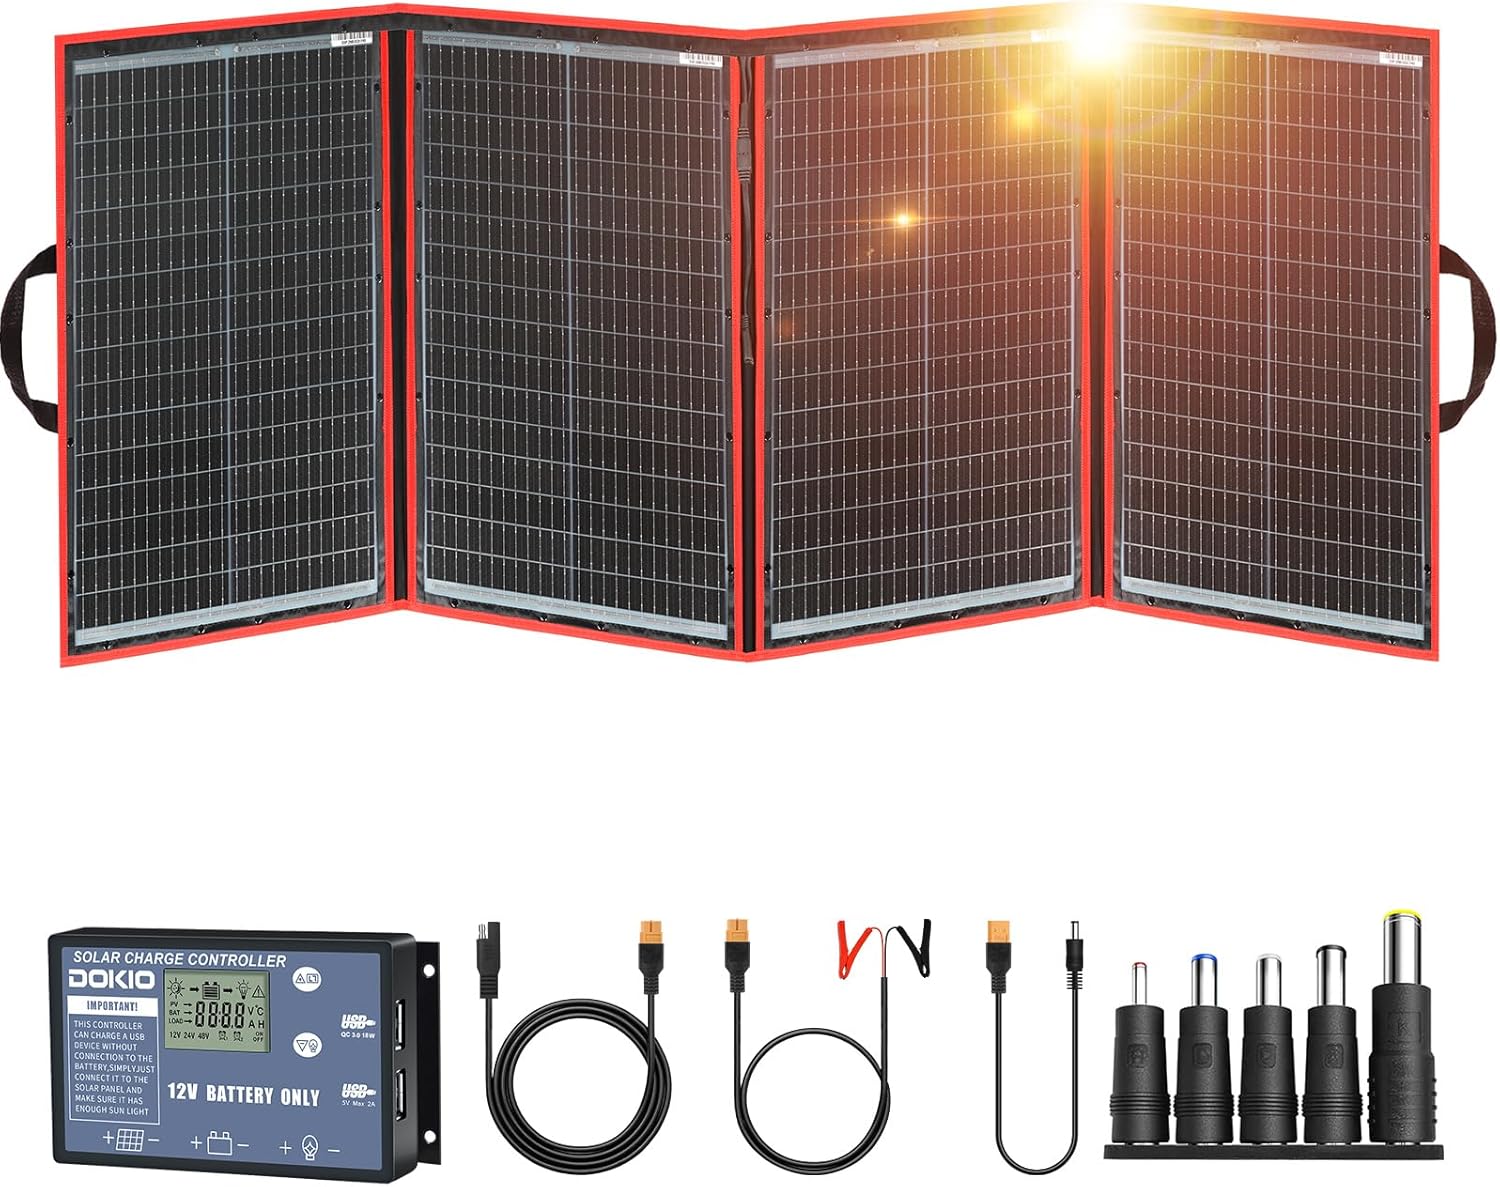
DOKIO 200W Foldable Panel
A foldable 200W panel that packs away — great if you can’t roof-mount and want to reposition for winter sun.
What we like
- Reposition for low sun
- Packs flat
The catches
- Pricier per watt
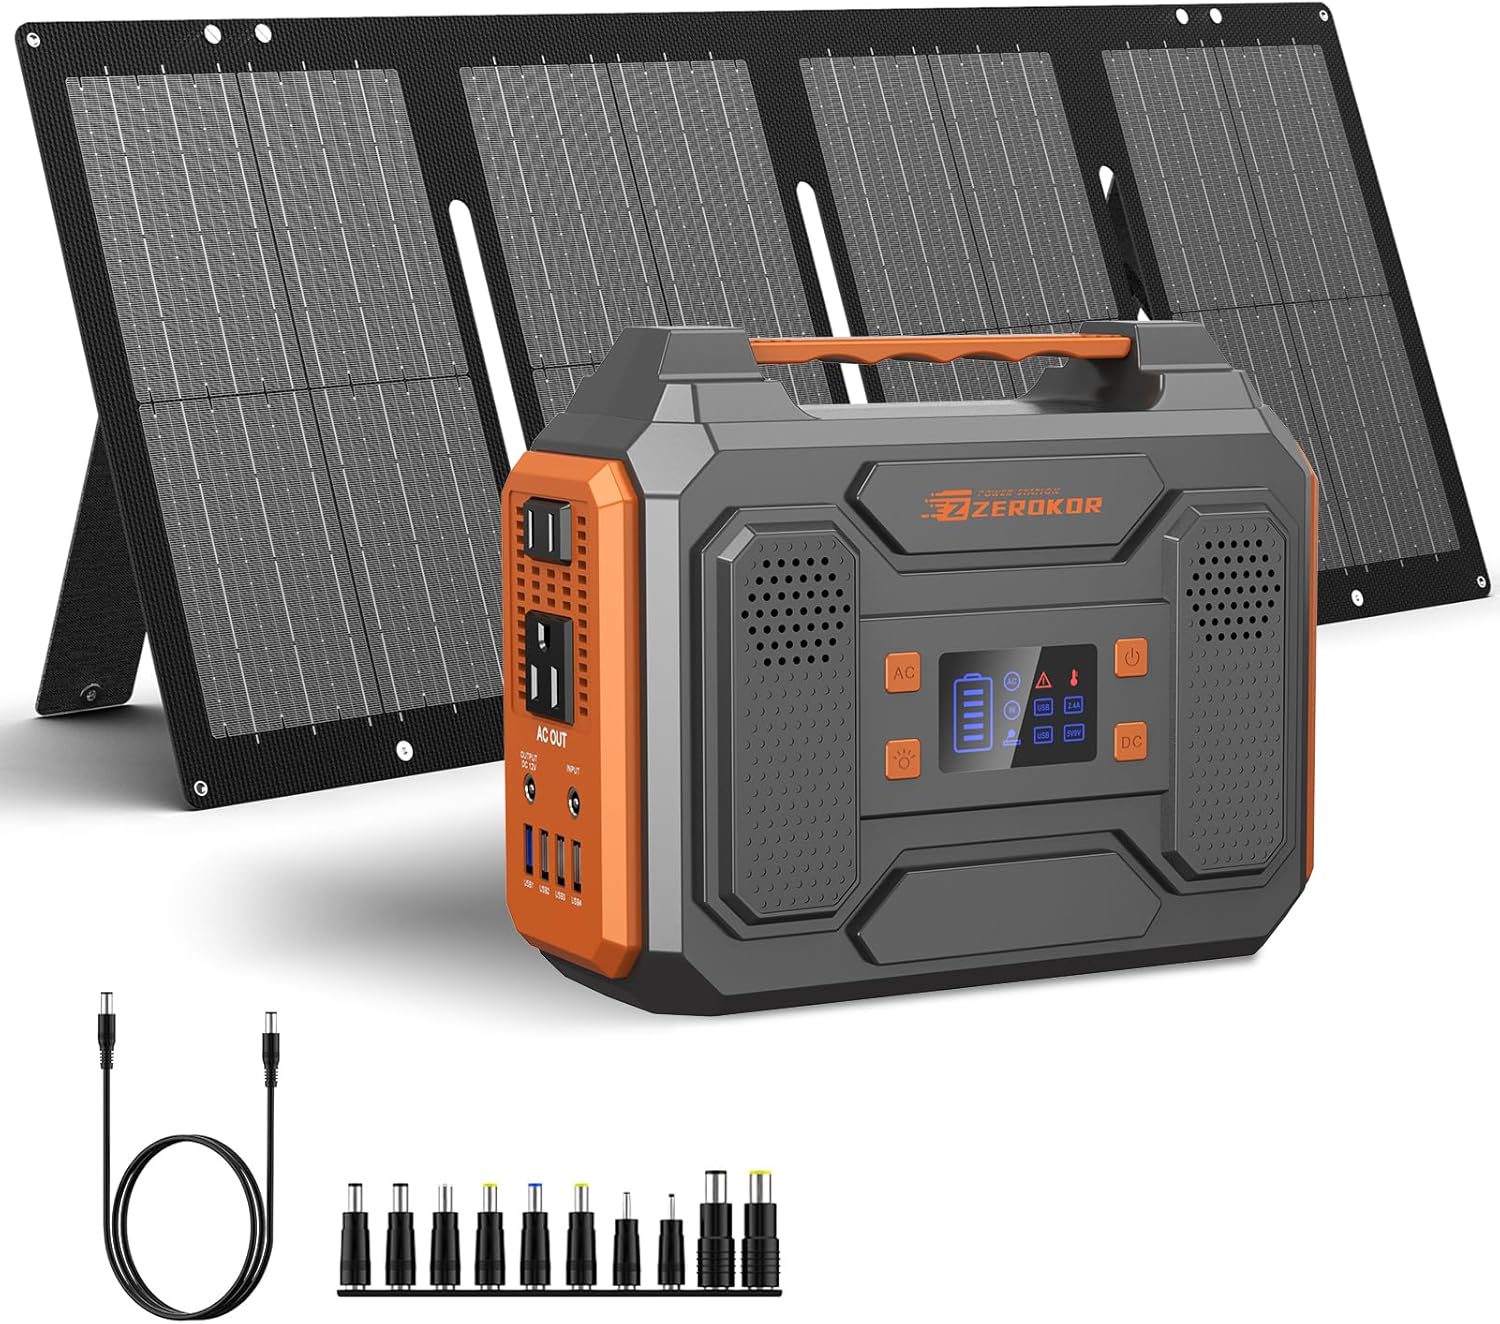
Portable Solar Generator (300W)
A power station banks the day’s solar so a heated pad runs reliably overnight — the dependable off-grid core.
What we like
- Reliable overnight run-time
- Powers other gear
The catches
- Adds cost
Choosing the right solar panel kit for a dog house is the single decision that makes or breaks an off-grid heated shelter. Pick a panel that’s too small and the heated pad goes cold on the coldest nights; over-buy and you’ve wasted money on hardware your battery can’t even store. This guide is about the panel hardware itself — what wattage you need for your dog and climate, why monocrystalline beats polycrystalline for a small winter system, the charge controller that protects your battery, and the mount and tilt that squeeze out every usable watt. Get these four things right and the rest of the system falls into place.
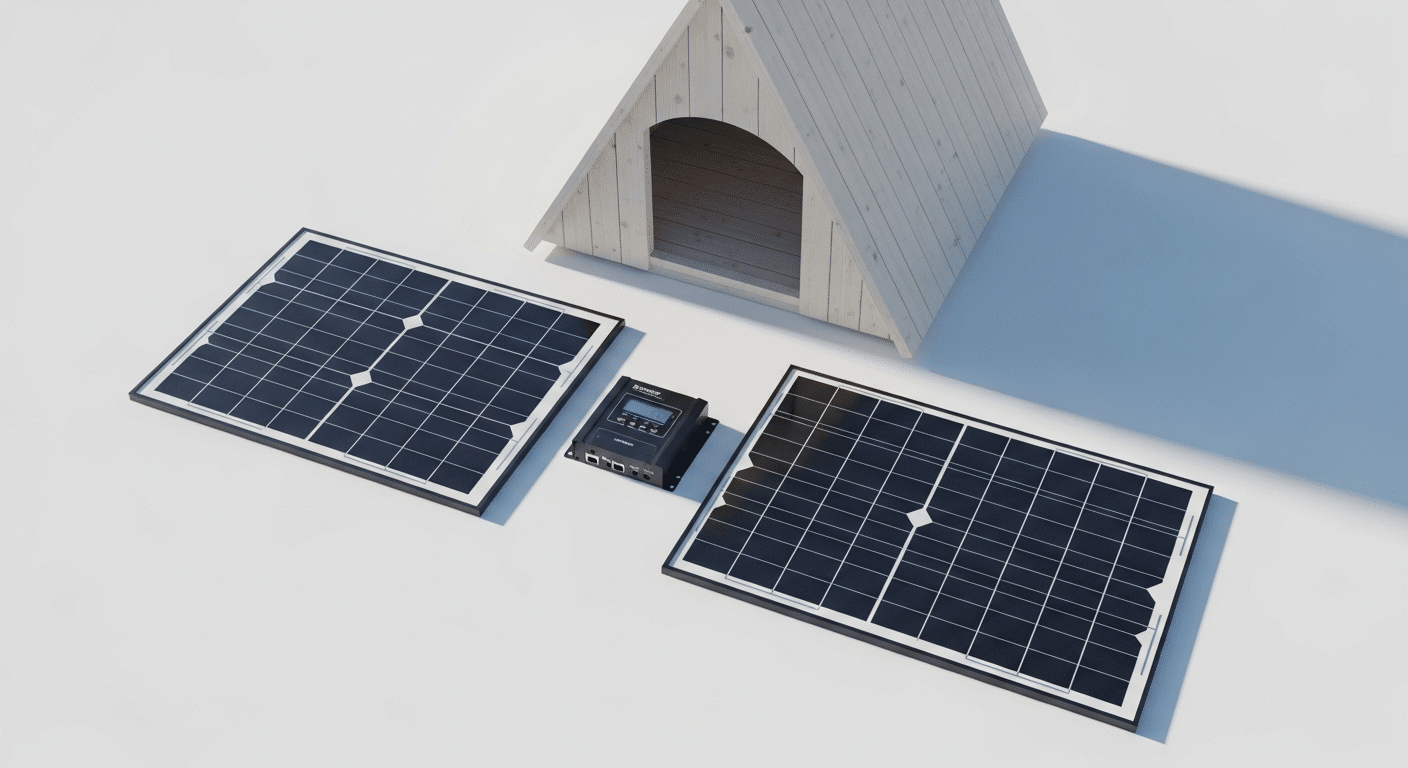
What’s actually in a solar panel kit for a dog house
A good solar panel kit for a dog house is more than a bare panel — the kit format matters because the parts have to be matched to each other. A complete kit usually bundles four things, and understanding each one is how you judge whether a kit is right-sized for a heated shelter rather than for a garden light or an RV.
- The solar panel (typically a 100W monocrystalline panel) — the part that turns daylight into power, and the headline spec you’re sizing.
- A charge controller (PWM or MPPT) — sits between panel and battery, regulating voltage so the battery charges safely and isn’t overcharged or drained flat.
- Cabling and connectors — the wiring that links panel to controller to battery, usually with weatherproof MC4 connectors.
- A mount or bracket — fixes the panel to the dog-house roof, a post or the ground at the right angle.
The battery and the heated pad are the load side of the system; if you want the full panel-plus-battery picture, see our solar heated dog house hub. Here we’re focused on choosing the panel kit that feeds them.
What wattage solar panel kit do you need?
Wattage is the first and most important call, and it depends on two things: how much heat your dog needs (a function of size, coat and climate) and how much winter sun you actually get. A heated pad for a small dog might draw 15–20W; a larger pad or low-watt heater for a big dog in a real winter can pull 60–80W or more, and it runs longest on the shortest, darkest days. That’s why a 100W panel is the sensible default — it gives headroom to recharge the battery on weak winter light, not just sunny days. Use the table below as a starting point, then size up if your winters are long and grey.
| Dog & climate | Typical heat load | Recommended panel kit |
|---|---|---|
| Small / toy dog, mild winter | Small heated pad (~15–25W) | 50–100W monocrystalline |
| Medium dog, cold winter | Heated pad (~25–40W) | 100W monocrystalline |
| Large / giant breed, cold winter | Large pad or low-watt heater (~40–80W) | 100–200W (or 2× 100W) |
| Any dog, long grey / snowy winters | Runs longest on weakest light | Oversize: 150–200W |
Monocrystalline vs polycrystalline: which panel type to buy
Almost every panel you’ll see is one of two cell types, and for a small, space-limited dog-house system the choice is clear. Monocrystalline panels are cut from a single silicon crystal: they’re more efficient (more watts per square inch), perform better in low and indirect winter light, and last longer — exactly what a winter heating job needs. Polycrystalline panels are cheaper to make but less efficient and weaker in dim conditions, so they need more roof or ground space to deliver the same power.
| Monocrystalline | Polycrystalline | |
|---|---|---|
| Efficiency | Higher — more watts in less space | Lower — needs more area |
| Low / winter light | Better performance | Weaker |
| Cost | Slightly higher | Cheaper |
| Best for a dog house | Yes — the right pick | Only if budget is the priority |
For a heated dog house, monocrystalline is almost always worth the small premium — the better winter-light performance is precisely when your dog needs the heat. Our JJN 100W solar panel kit review walks through a complete monocrystalline kit and how its parts size together for exactly this job.
The charge controller: PWM vs MPPT
The charge controller is the unsung hero of the kit — it sits between the panel and the 12V battery and stops the panel from overcharging or boiling the battery while making sure it charges as fully as possible. A kit without one (or with a poor one) will quietly kill your battery. There are two types:
- PWM (pulse-width modulation): cheaper and perfectly adequate for a small single-panel 12V system like most dog houses. It’s the sensible default for a 50–100W kit.
- MPPT (maximum power point tracking): more efficient (it harvests more usable power, especially in cold or low light), but costs more and matters most on larger or higher-voltage arrays. Worth it if you’re running 150–200W or want every watt in a harsh climate.
Mounting and tilt: getting the panel angle right
Even a perfect panel makes weak power if it’s pointed the wrong way, so the mount is part of the buying decision — not an afterthought. You have three practical mounting options for a dog house, and the best kits include an adjustable bracket.
- Roof-mounted: bolts to the dog-house roof. Tidy and compact, but a flat roof catches the low winter sun poorly unless the bracket can tilt.
- Post or wall-mounted: raises the panel above snow and shade, and is easy to angle. A strong choice in snowy regions.
- Ground-mounted (adjustable tilt): the most flexible — you can steepen the angle for winter and point it due south for maximum exposure.
Aim the panel south (in the northern hemisphere), keep it clear of shade from the roofline, fences or branches, and tilt it steeper in winter (a common rule of thumb is your latitude plus about 15°) to face the low sun. The U.S. Department of Energy’s guide to active solar heating covers these orientation and tilt principles in more depth. A kit with a tilt-adjustable mount is worth prioritising for exactly this reason.
What to look for when buying a solar panel kit
Pulling it together, here’s the short checklist to run any solar panel kit for a dog house against before you buy. Hit these and you’ll avoid the mistakes that leave a pad cold in January:
- Right wattage for your dog and climate (default to 100W mono; oversize for long grey winters).
- Monocrystalline cells for better winter-light output.
- A matched charge controller (PWM is fine for small kits; MPPT for larger arrays) rated above your panel’s amps.
- An adjustable mount so you can angle and re-aim for the season.
- Weatherproof cabling and MC4 connectors, ideally with enough cable run to reach where the battery lives.
- A weatherproof (IP-rated) panel built to sit outdoors year-round.
Once the kit is chosen, two things keep it delivering: building the system correctly and maintaining it. Our DIY solar heated dog house build guide walks the wiring step by step, and the solar panel care guide covers the seasonal upkeep that keeps output high.
