Beginner’s DIY Solar Heated Dog House Guide
Never built anything bigger than a flat-pack shelf? Good — this is the absolute-beginner on-ramp to a solar heated dog house: the few tools you need, how hard it really is, and the simplest design that actually works.
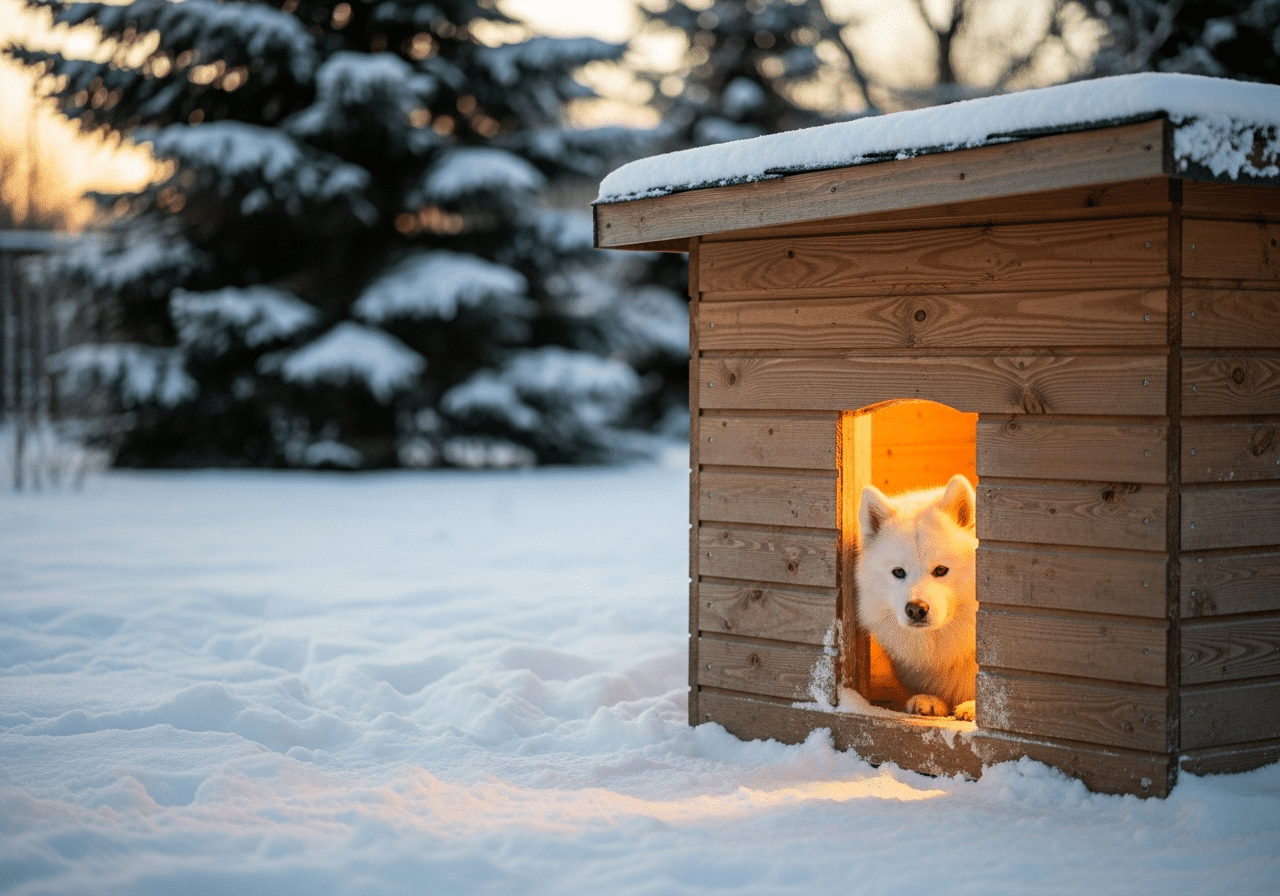
If every other guide makes a solar heated dog house sound like an electrician’s weekend project, this one is for you. We’re going to strip it back to the simplest version that genuinely keeps a dog warm — a small insulated box, one small panel, one battery, one heated pad — and walk you through it as a complete first-timer. No soldering, no roof-mounted arrays, no jargon you have to Google. Just the honest skill level, the short tool list, and the order to do things in.
How hard is this, really? (an honest difficulty check)
Here’s the truth most build posts skip: a basic solar heated dog house is closer to assembling flat-pack furniture than to rewiring a house. The carpentry is cutting and screwing together a simple box. The “solar” part — which scares most beginners — is really just clipping four pre-made parts together: a panel, a charge controller, a battery, and a heated pad. None of it involves mains electricity, so there’s no shock risk and you don’t need an electrician.
If you can use a cordless drill and follow a wiring diagram with colour-coded plugs, you can do this. Expect your first build to take a weekend, not because it’s hard but because beginners go slowly and double-check everything — which is exactly what you should do. For the canonical, no-shortcuts version once you’re confident, see our step-by-step full build plan in the related guides below.
The realistic skill level
Be honest with yourself before you start. You’ll be comfortable if you can do roughly this much:
- Measure and cut a straight line — with a hand saw or a jigsaw, on softwood
- Drive a screw with a drill — no fine joinery, just butt joints and screws
- Match a plug to a socket — the electrical kit uses keyed, colour-coded connectors
- Read a one-page diagram — and not panic when something looks slightly different
You do not need to know how to solder, calculate loads, or wire anything to mains. If a step ever asks you to, you’ve wandered onto an advanced build — stop and come back to the simple path.
The tools and parts a beginner actually needs
The shopping list is short on purpose. You can borrow or buy the tools cheaply, and the electrical parts come as a near plug-and-play kit.
Tools (most beginners already have these)
- Cordless drill/driver — for pilot holes and screws (the one tool worth owning)
- Jigsaw or hand saw — to cut the doorway and panels to size
- Tape measure, pencil, and a speed square — to keep cuts square
- Screwdriver and pliers — for the electrical connectors
- Safety glasses and work gloves — non-negotiable, especially when cutting
That’s it. No table saw, no soldering iron, no multimeter required for the simple build.
Materials & the solar kit
| Part | Beginner-simple choice |
|---|---|
| Shell | Pre-cut plywood or a cheap ready-made wooden dog house to convert |
| Insulation | Rigid foam board (cuts with a knife) for floor and walls |
| Panel | One small 50–100W solar panel kit, like the JJN 100W kit |
| Brain | The charge controller that comes in the panel kit — pre-matched |
| Storage | One sealed 12V battery (size to match the kit’s rating) |
| Heat | A low-watt 12V heated pad, like the LICAEVEY solar heating pad |
The simplest design that actually works
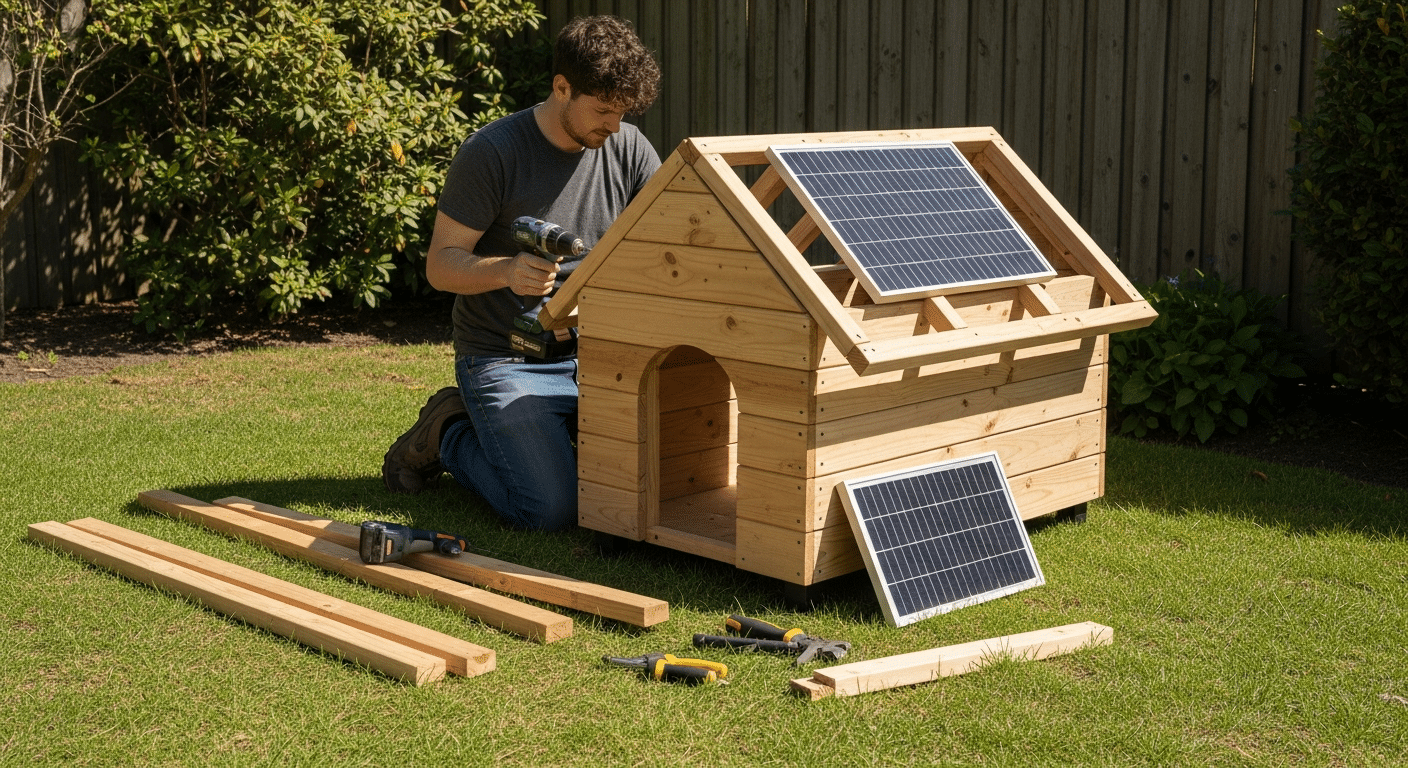
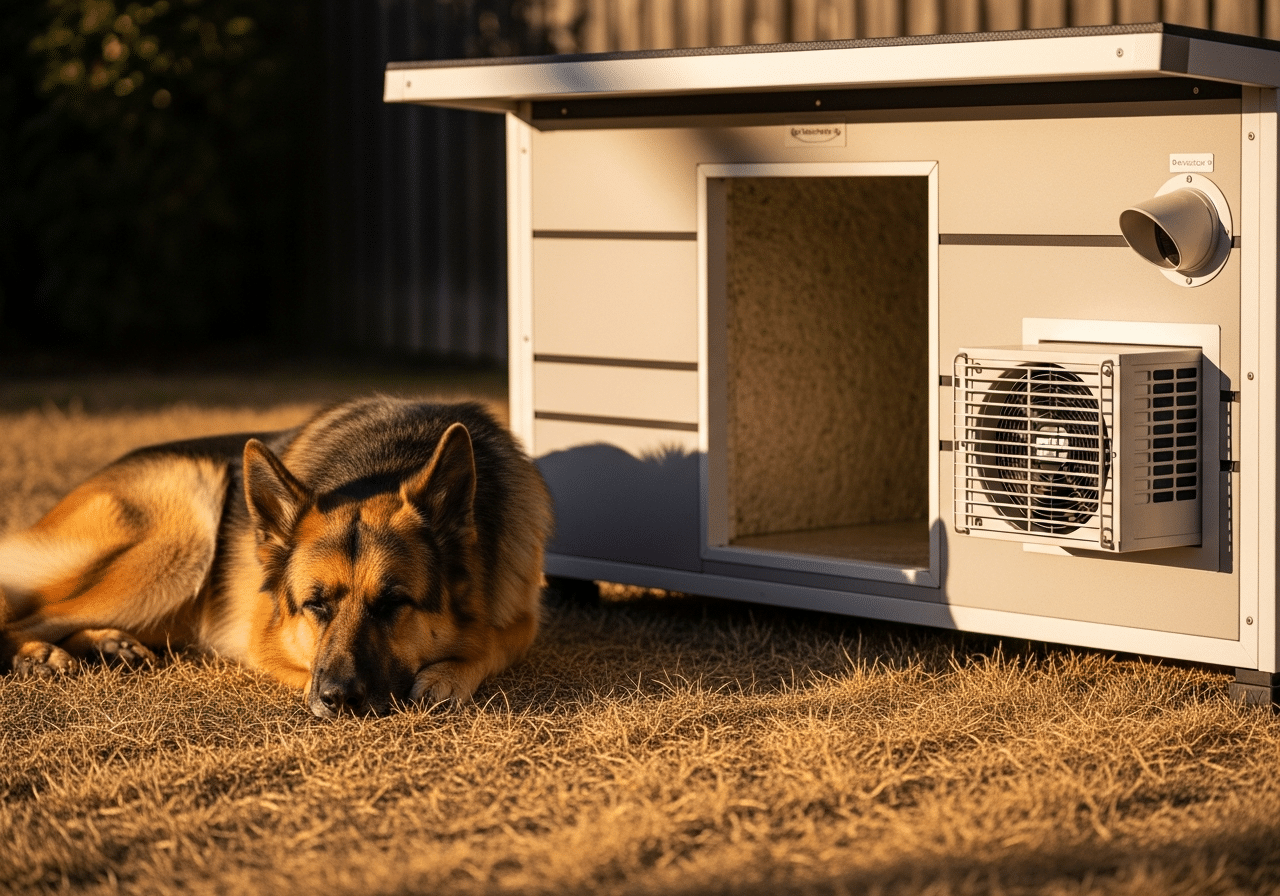
Forget roof-mounted arrays and clever hatches for your first build. The beginner-proof design is a small, well-insulated box with the panel leaning against a sunny side or screwed flat to the roof, and all the electrics living in a sealed plastic tub on the outside wall. Keeping the battery and controller in an external box means you never have to fish wires through the structure — and if anything needs swapping, you just open the tub.
Size it snug. A beginner’s instinct is to build big, but a dog warms a small space far more efficiently. Aim for just enough room for your dog to stand, turn, and lie down. Smaller = warmer = less panel and battery you need. For why the basics matter more than gadgets, the Humane Society’s cold-weather pet guidance is worth a read.
Your first build, step by step
- 1. Build or buy the box. Assemble a simple plywood box (or start with a cheap ready-made wooden house). Cut an offset doorway slightly bigger than your dog’s shoulders.
- 2. Insulate it. Glue rigid foam board to the floor first, then the walls, then a thin inner liner so your dog can’t chew the foam. The floor matters most — cold rises through it.
- 3. Raise it off the ground. Add four short feet or a couple of pressure-treated rails. A raised base stops damp and cold from wicking up.
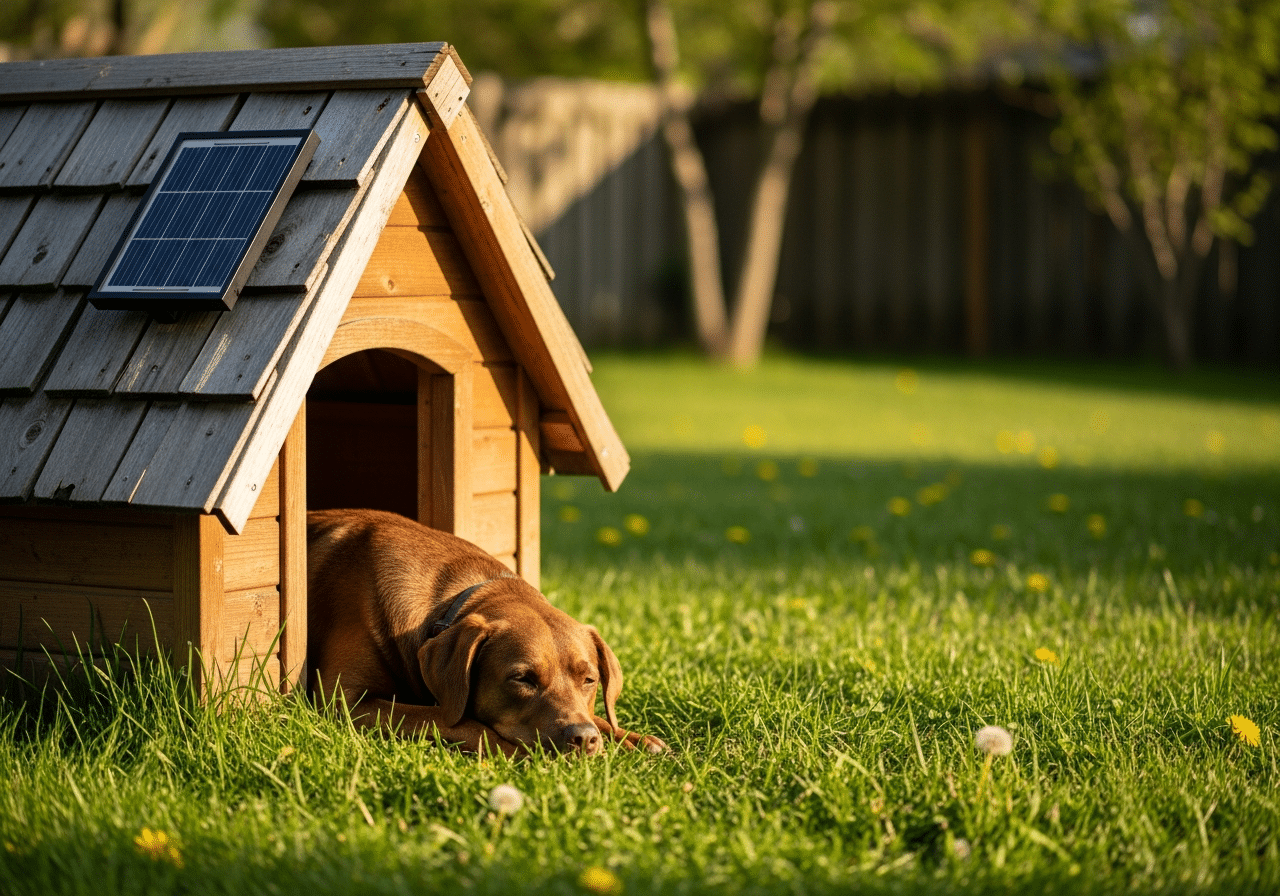
- 4. Mount the panel. Screw it flat to the roof or lean it against the sunniest wall, tilted toward midday sun. South-facing in the northern hemisphere.
- 5. Wire the kit (the easy part). Panel → charge controller → battery → heated pad. Each connector is keyed; just match the colours and don’t connect the panel until the controller sees the battery.
- 6. Place the pad and test. Lay the heated pad on the insulated floor, cover it with a washable cover, and let the system run a sunny day before your dog moves in. Check the pad is warm, not hot.
Take photos as you go — they make troubleshooting (and bragging) much easier later.
Common beginner pitfalls (and how to dodge them)
- Skipping the insulation. A heated pad in an uninsulated box just heats the outdoors. Insulate the floor and walls first — it’s the single biggest comfort win.
- Building too big. An oversized house never warms up. Size it to the dog, not to look impressive.
- Mismatched parts. A 100W panel with a tiny battery, or a 24V pad on a 12V system, leads to nothing working. Keep everything the same voltage and let the kit’s controller do the thinking.
- Connecting the panel first. Always wire the battery to the controller before the panel — doing it backwards can confuse cheap controllers.
- Forgetting drainage and ventilation. Leave a small vent high up and a raised base so condensation and damp can escape.
- No fuse or cover. Add the inline fuse the kit provides, and give your dog a chewable-proof cover over the pad and wires.


